

Key Takeaways
- Five key fluids - engine oil, coolant, brake fluid, power steering fluid, and windshield washer fluid - should be inspected regularly.
- Most fluid checks require only a clean rag, your vehicle owner's manual, and good lighting.
- Color and level are the two main indicators of fluid health; abnormal readings warrant professional attention.
- Checks are best performed on a cold or fully warmed engine, depending on the fluid type.
- Catching low or degraded fluid early is one of the most cost-effective forms of preventive maintenance.
What you will need
Why Fluid Checks Matter
Your vehicle depends on a network of fluids to lubricate moving parts, regulate temperature, transfer force, and keep visibility clear. When any of these fluids drops below a safe level - or degrades in quality - the consequences can range from reduced performance to expensive component failure. The good news: catching problems early through routine inspection is straightforward and requires no mechanical expertise.
This guide walks you through the five fluids most drivers should check regularly: engine oil, coolant, brake fluid, power steering fluid, and windshield washer fluid. For a broader picture of preventive upkeep, see The Complete Guide to Car Maintenance.
Always Consult Your Owner's Manual
Reservoir locations, fluid specifications, and inspection intervals vary significantly between vehicle makes and models. Your owner's manual is the authoritative source for your specific car. Using the wrong fluid type - even in the correct reservoir - can cause serious mechanical damage.
Before you begin, gather what you need:
What you will need
How to Check Each Fluid: Step-by-Step
The tools required are minimal, and the entire process typically takes 10 to 20 minutes. Here's what you'll use:
Owner's Manual
Identifies the exact location of each fluid reservoir and specifies the correct fluid type for your vehicle.
Clean Lint-Free Rag
Used to wipe the oil dipstick clean before taking an accurate reading.
Flashlight
Improves visibility inside the engine bay, especially in low-light conditions.
Disposable Gloves
Protects hands from contact with engine oil, brake fluid, and other automotive chemicals.
Prepare your vehicle and workspace
Park on a level surface and turn off the engine. For engine oil and most other fluids, the car should be parked for at least five minutes so fluids settle. If you've just driven, allow more cooling time - especially before checking coolant. Open the hood and secure it with the prop rod if your vehicle requires one.
Check engine oil level and condition
Locate the oil dipstick - typically a brightly colored handle near the engine block. Pull it out, wipe it clean with your rag, reinsert it fully, then pull it out again. The oil should sit between the two marks on the dipstick (often labeled MIN and MAX, or indicated by crosshatching). Healthy oil ranges from amber to light brown. Black, gritty, or milky-looking oil may indicate it's overdue for a change or that a mechanical issue is present - consult a mechanic if the latter is suspected.
Inspect the coolant (antifreeze) reservoir
The coolant reservoir is a semi-transparent plastic tank, usually near the radiator. With the engine fully cold, check that the fluid level falls between the MIN and MAX markings on the side of the tank. Coolant is typically green, orange, or pink depending on the type. A low level may indicate a leak or evaporation; murky or rust-colored coolant may need flushing. Do not add water as a long-term substitute - use the correct coolant type specified in your manual.
Check brake fluid
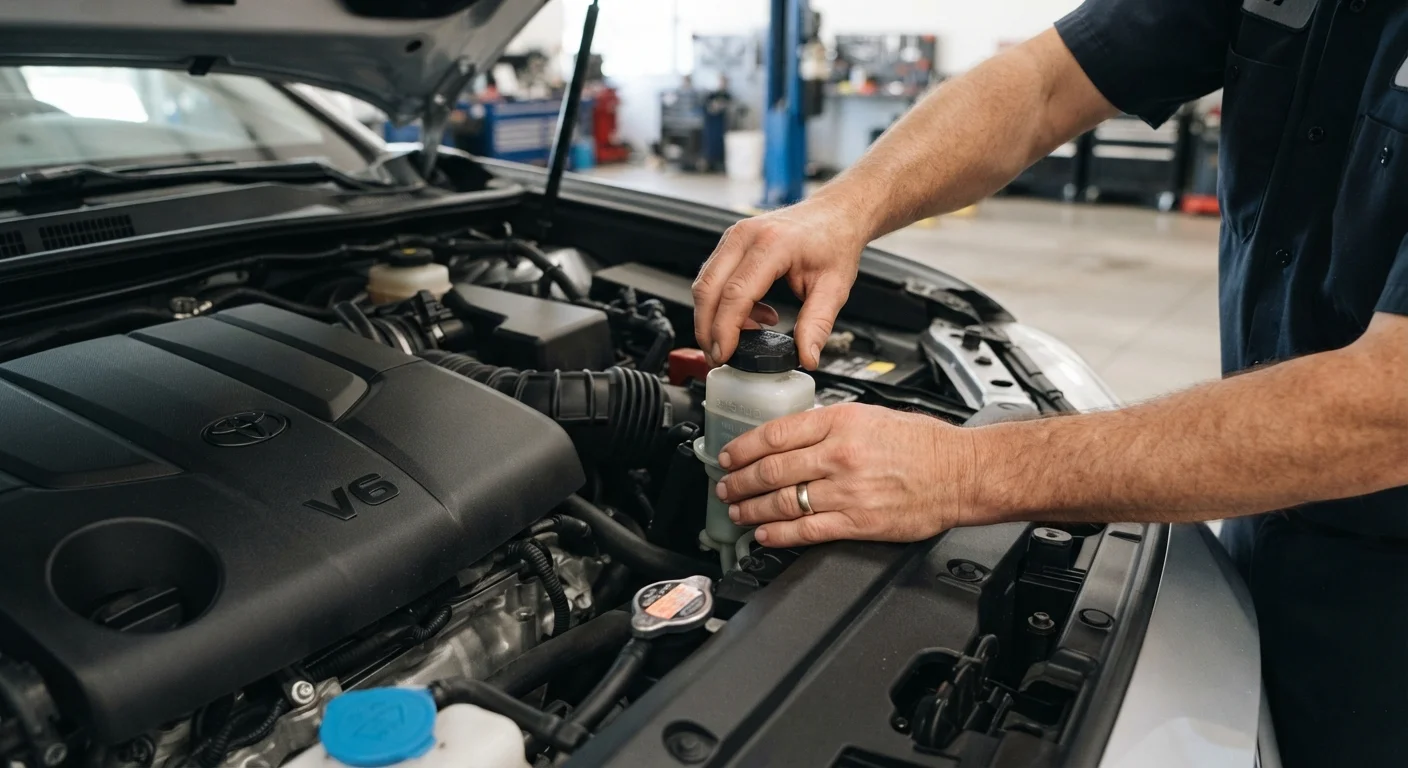
The brake fluid reservoir is typically a small translucent container on top of the brake master cylinder, located at the rear of the engine bay near the firewall (the panel separating the engine from the cabin). The level should be between MIN and MAX. Healthy brake fluid is clear to light yellow; dark brown fluid suggests it has absorbed moisture and should be replaced by a qualified mechanic. Do not top off brake fluid without identifying why the level is low - a consistently dropping level can indicate a leak or brake pad wear.
Inspect power steering fluid (if applicable)
Many newer vehicles use electric power steering and have no fluid to check. If your car has hydraulic power steering, the reservoir is usually labeled and located near the front of the engine bay. Check the level using either the dipstick attached to the cap or the markings on the reservoir. Fluid should appear clear to slightly amber; dark or foamy fluid warrants professional inspection. Difficulty steering or a whining noise when turning are signs the system needs attention.
Top off windshield washer fluid
The washer fluid reservoir is the easiest to service - it's typically a large plastic tank with a windshield icon on the cap. Fill it with a premixed washer fluid rated for your climate. In winter, use a freeze-resistant formula. Do not substitute plain water, which can freeze, promote mold, and leave mineral deposits on the nozzles.
Build Checks Into a Monthly Habit
Pairing fluid checks with a recurring task - like the first fill-up of each month - makes them easier to remember. Keeping a simple log of dates and readings helps you spot gradual changes before they become problems.
Reading the Signs and Knowing When to Get Help
Fluid checks are most useful when you know what normal looks like - and recognize when something is off. As a general rule:
- Color changes (darkening, cloudiness, or unexpected hues) often indicate contamination or degradation.
- Level drops between checks suggest a leak or internal consumption that a mechanic should diagnose.
- Unusual smells (burning oil, sweet coolant odor inside the cabin) are worth investigating promptly.
If you're unsure what you're seeing, don't guess - consult a qualified mechanic. Some issues, like a brake fluid leak or milky oil (which can indicate coolant mixing with oil), are safety-critical and should not be deferred.
Never Open the Coolant Cap on a Hot Engine
Coolant systems operate under pressure. Opening the reservoir cap when the engine is hot can cause scalding fluid to spray out with force. Always let the engine cool completely - typically 30 to 60 minutes - before inspecting coolant levels.
Pairing fluid checks with other regular habits keeps your vehicle reliable over the long term. The article Routine Maintenance Tasks That Prevent Expensive Repairs Later explains how these small steps connect to avoiding larger repair bills. And if you're heading out on a longer drive, Pre-Trip Vehicle Checks Every Driver Should Run offers a practical checklist to run beforehand.