

Key Takeaways
- Removing all old caulk completely is the single most important step before applying new sealant.
- The surface must be fully dry - at least 24 hours - before new caulk is applied.
- Mold or mildew on the surface must be treated and eliminated before sealing.
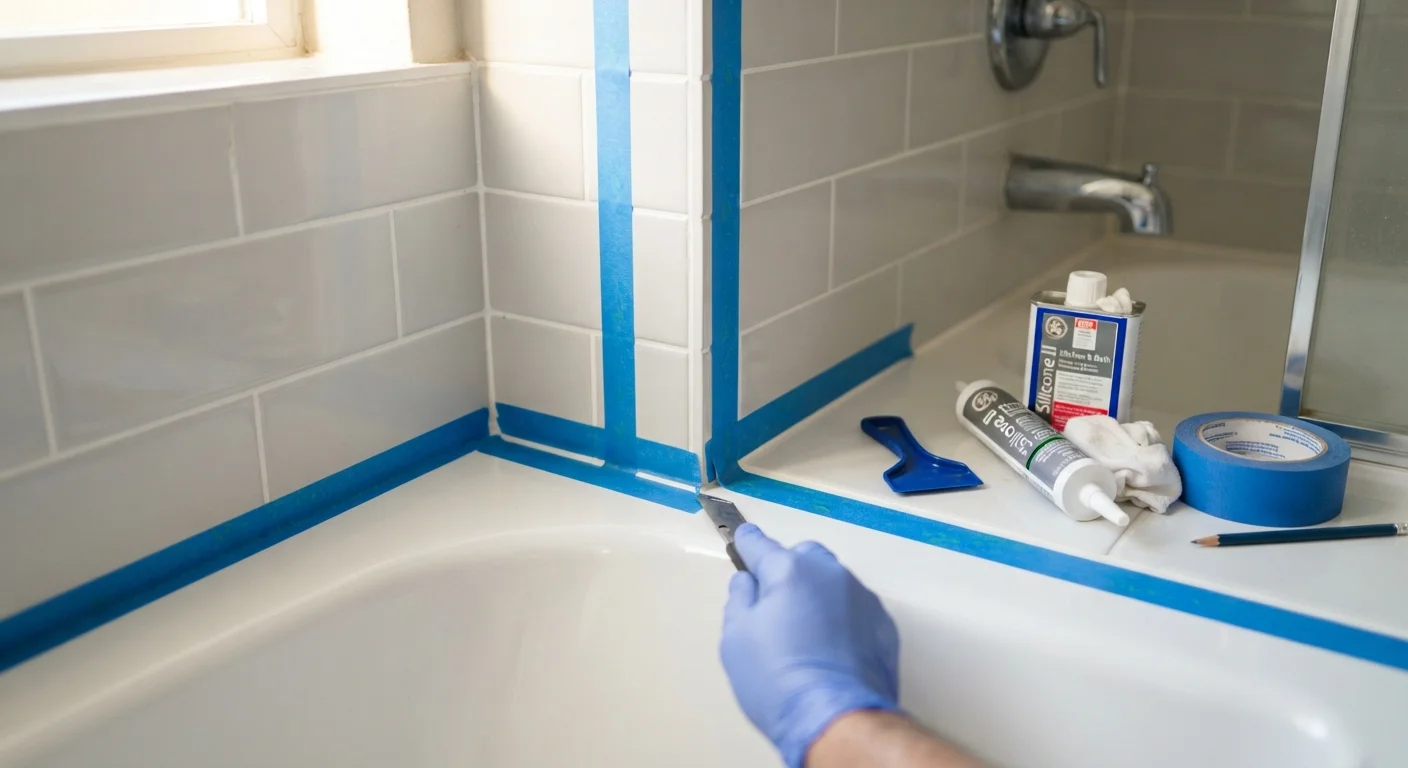
- Painter's tape creates clean, straight lines and a professional finish with minimal effort.
- Filling the tub with water before caulking prevents the seal from cracking under normal use.
What you will need
Why Preparation Is the Real Work
Most bathtub caulk failures have nothing to do with the caulk itself. They come down to what - or what wasn't - done before the tube was ever opened. Soap scum, moisture, remnants of old caulk, and hidden mold all prevent a new bead from bonding properly, and no amount of high-quality sealant can overcome a poorly prepared surface.
The joint where your bathtub meets the wall is under constant stress: water exposure, temperature changes, and the physical flex of the tub every time it bears weight. A well-bonded caulk seal can last five years or more. A poorly bonded one may peel within a season. Understanding where caulk belongs versus grout in your bathroom also helps you avoid applying the wrong material to begin with.
This guide walks you through every preparation step in order, with the goal of giving your new caulk the best possible foundation.
What you will need
What You'll Need
Gather all your tools before you start. Having to stop mid-project to find a scraper or run to the store breaks your prep momentum and extends drying times unnecessarily.
Utility knife or caulk removal tool
Cuts through and lifts out the old caulk bead cleanly without gouging the tub or tile surface.
Plastic scraper
Removes softened caulk residue without scratching porcelain or acrylic surfaces.
Isopropyl alcohol (rubbing alcohol)
Cleans and degreases the joint surface so new caulk bonds securely.
Mold-killing bathroom cleaner or diluted bleach solution
Treats any visible mold or mildew in the joint area before sealing.
Painter's tape
Creates straight, clean caulk lines along both sides of the joint.
Caulk softener or remover gel
Loosens stubborn old caulk to make removal easier and more complete.
Caulk gun
Provides controlled, consistent pressure for applying the caulk bead evenly.
Never Caulk Over Old Caulk
Applying new caulk on top of existing caulk is one of the most common DIY mistakes in bathroom maintenance. The new layer cannot bond properly to the old one, so it will peel or crack within weeks. Always remove the entire old bead first, no matter how time-consuming it feels.
Step-by-Step: Preparing and Caulking Your Bathtub
Remove all existing caulk
Use a utility knife or dedicated caulk removal tool to score along both edges of the old caulk bead. Work slowly along the length of the joint, angling the blade away from the tub surface to avoid scratches. Once scored, use a plastic scraper to peel up the loosened caulk in strips. For stubborn areas, apply a caulk softener gel, let it sit for the time indicated on the product label, then scrape again.
Check every inch of the joint - any fragment left behind will compromise adhesion of the new bead.
Treat mold and mildew
Inspect the joint area closely. If you see any dark staining, that is likely mold or mildew that must be addressed before sealing. Apply a mold-killing bathroom cleaner or a diluted bleach solution (roughly one part bleach to ten parts water) to the affected area. Let it dwell for 10-15 minutes, then scrub with an old toothbrush and wipe clean. Sealing over active mold traps moisture and allows it to spread underneath the new caulk.
Clean and degrease the joint
Wipe the entire joint and the surrounding tub and tile surfaces with isopropyl alcohol on a clean cloth. This removes soap scum, body oils, and any cleaning product residue - all of which prevent caulk from bonding. Pay close attention to the corners where the tub meets the wall, since buildup tends to concentrate there.
Allow the surface to dry completely
This is the step most people skip: waiting for the surface to be thoroughly dry. Even if the joint looks dry to the eye, residual moisture in porous grout or tile backing can prevent a proper bond. Allow at least 24 hours of drying time with good ventilation. Running the bathroom exhaust fan helps significantly.
Fill the tub and apply painter's tape
Fill the bathtub completely with water before taping or caulking. This pre-loads the joint at its maximum width so the caulk cures in a slightly stretched state - meaning it will not crack when someone gets in the tub later.
With the tub full, apply painter's tape along both sides of the joint: one strip on the tile surface and one on the tub edge. Leave a gap equal to the joint width between them. Press the tape edges down firmly to prevent caulk from bleeding underneath.
Apply the caulk bead
Load your caulk tube into the caulk gun and cut the nozzle at a 45-degree angle to match the width of your joint. Apply a steady, continuous bead along the entire joint without stopping. Move the gun at a consistent pace - too slow creates excess buildup, too fast leaves gaps. Immediately smooth the bead with a wet finger or a caulk finishing tool in one fluid stroke.
Remove the painter's tape while the caulk is still wet by pulling each strip back at a 45-degree angle away from the joint.
Cure without disturbing the joint
Leave the water in the tub until the caulk has fully cured - check the product label, but 24 hours is typical for silicone and latex bath caulks. Do not use the shower or tub during this period. Once cured, drain the tub and inspect the joint for any gaps or thin spots that may need a touch-up pass.
Fill the Tub Before You Caulk
A bathtub flexes slightly under the weight of water and a person. If you caulk an empty tub, the joint may stretch and crack the first time it's used. Fill the tub completely before applying caulk, and leave the water in until the caulk has fully cured - typically 24 hours.
Don't Rush the Drying Time
Applying caulk to a damp surface - even one that looks dry - is a leading cause of early seal failure and mold growth beneath the bead. After cleaning, wait a full 24 hours before caulking, and run a bathroom fan or open a window to speed moisture removal.
When to Call a Professional
Recaulking a bathtub is a solid beginner DIY project, but there are situations where professional help makes more sense. If you find soft, crumbling tile backer behind the joint, significant water damage in the wall, or evidence that the tub itself has shifted or cracked, those are structural concerns beyond what caulk can fix.
Similarly, if your bathroom is due for a larger update, it's worth mapping out which tasks you can handle yourself and which ones require a licensed trade before you commit to any single repair. Our guide to planning a bathroom refresh can help you draw that line clearly.
For homeowners who enjoy tile work and want to tackle adjacent projects, the prep principles here apply broadly - the kitchen backsplash installation readiness guide covers similar surface preparation logic for a different room.