

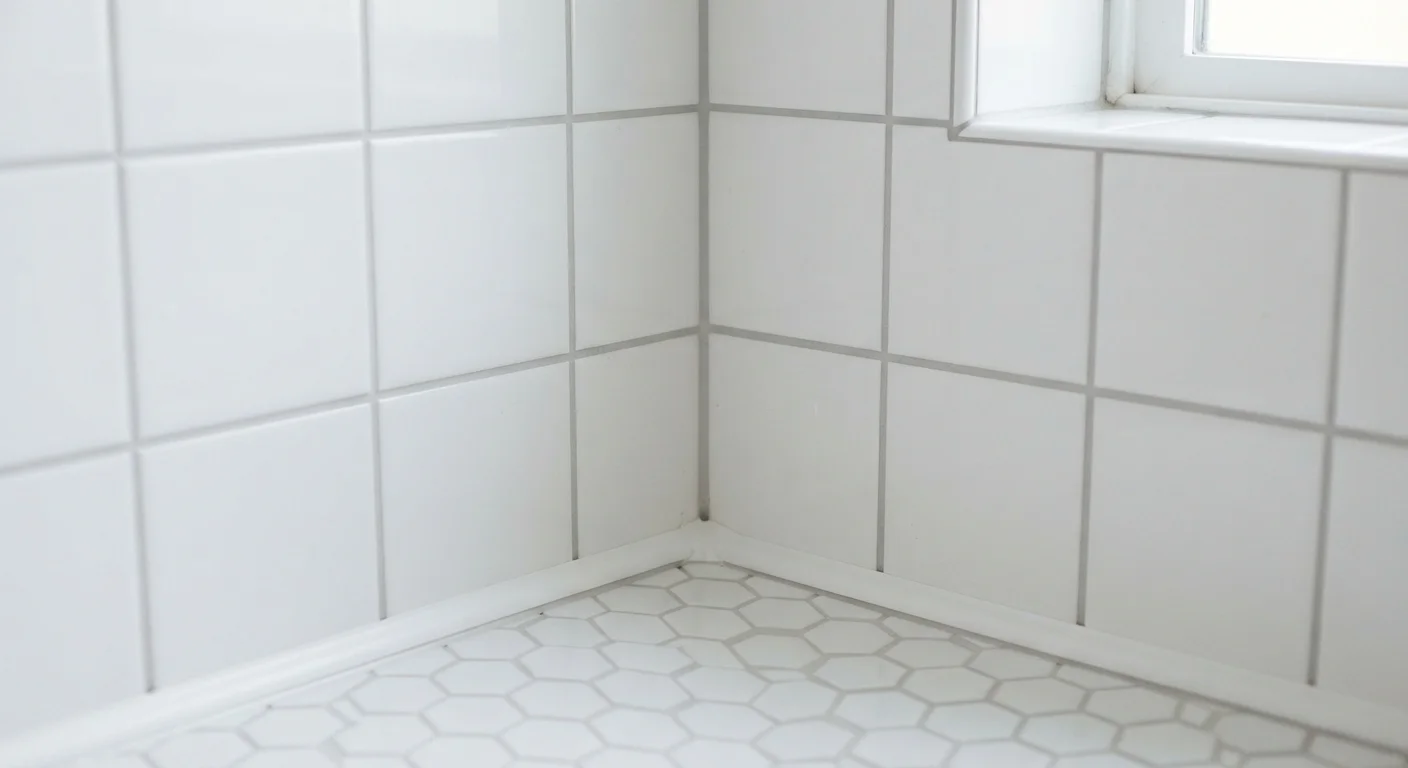
Key Takeaways
- Grout is rigid and belongs between tiles; caulk is flexible and seals joints where surfaces meet or move.
- Using grout in a corner or expansion joint will lead to cracking, because those joints are designed to flex.
- Caulk should never replace grout between field tiles - it stains easily and will not hold up to foot traffic.
- The perimeter of any tiled surface - where tile meets tub, floor, or wall - calls for caulk, not grout.
- Proper surface preparation is critical for both materials to bond and last.
Option A
Grout
The rigid, durable filler for tile-to-tile gaps.
Best for: Best for filling the uniform spaces between tiles on walls, floors, and backsplashes where surfaces are stable and do not flex.
Option B
Caulk
The flexible sealant for joints that move or meet different materials.
Best for: Best for sealing corners, edges, and transitions where two different surfaces meet, or where slight movement from temperature and moisture is expected.
If you are filling the spaces between tiles on a wall or floor field
Grout
Grout is formulated to fill tight, uniform gaps between tiles and cures to a hard, cleanable surface that holds up to daily wear and moisture.
If you are sealing a corner where a tiled wall meets a bathtub or floor
Caulk
These joints experience constant movement from thermal expansion and vibration; only a flexible sealant like caulk can accommodate that movement without cracking.
If you are working on an outdoor tile installation exposed to temperature swings
Caulk
Expansion and contraction from temperature changes will crack rigid grout at transition joints; caulk moves with the surface and maintains a watertight seal.
If you need to seal around a sink, toilet base, or plumbing fixture
Caulk
Fixtures sit on or against different materials and shift slightly over time; silicone or latex caulk creates a waterproof barrier that grout cannot reliably provide in these locations.
What Each Material Is Made to Do
Grout and caulk both fill gaps, but they are engineered for entirely different jobs. Understanding that difference will save you from a frustrating - and expensive - redo.
Grout is a cement-based (or sometimes epoxy-based) compound that cures hard. It is designed to fill the narrow, consistent spaces between tiles, locking them into a unified surface. Once set, grout resists foot traffic, scrubbing, and moisture - but it does not flex. Any joint that moves will eventually crack grouted filler.
Caulk is a flexible sealant, typically made from silicone, latex, or a blend of both. It bonds to a surface and remains slightly pliable after curing, which means it can absorb small amounts of movement without breaking its seal. That flexibility is precisely why it belongs anywhere two different materials meet or where a surface can shift.
| Criterion | Grout | Caulk |
|---|---|---|
| Composition | Cement- or epoxy-based | Silicone, latex, or hybrid |
| Flexibility after curing | Rigid | Remains pliable |
| Primary use | Between field tiles | Corners, transitions, fixture edges |
| Handles joint movement | No - cracks under flex | Yes - designed for movement |
| Water resistance | Good when sealed | Excellent; many are mold-resistant |
| Foot traffic durability | High | Low - not for field tile use |
| Color matching to tile | Wide range of colors | Coordinating shades available |
| Ease of removal/replacement | Requires grout saw or oscillating tool | Can be cut and peeled away |
Where Each Material Belongs
A simple rule covers most situations: grout goes between tiles; caulk goes at every transition, corner, and change of plane.
Use grout:
- Between field tiles on walls, floors, counters, and backsplashes
- In any joint that is surrounded on all sides by tile and set mortar
Use caulk:
- Where a tiled wall meets a bathtub, shower pan, or floor
- At inside corners where two tiled walls meet
- Where tile meets a wood, metal, or laminate surface
- Around fixtures such as sinks, faucets, and toilet bases
- At expansion joints in large tile installations
A common mistake is applying grout all the way into a corner between two tiled walls. That corner is actually an expansion joint - a deliberate gap that lets the surfaces move independently. Fill it with grout and it will crack within a season or two as the walls flex even slightly. Caulk in a color matched to your grout is the correct solution there.
Matching Caulk Color to Your Grout
Many tile supply retailers stock caulk in shades designed to coordinate with popular grout colors. When ordering grout for a project, check whether the manufacturer offers a matching caulk in the same product line. Applying caulk in a closely matched color at corners and transitions makes the finished surface look seamless and intentional, rather than like a patch job.
Why Substituting One for the Other Causes Problems
Swapping grout for caulk between field tiles creates its own set of issues. Caulk is softer than grout and will attract dirt and soap scum more readily. On a floor, foot traffic will compress and deform it. It also lacks the structural bond that holds tiles in alignment.
Going the other direction - using grout in a joint that needs to flex - leads to cracking and water infiltration. Once water gets behind tile through a cracked grout joint in a shower corner, it can damage the substrate, promote mold growth, and eventually cause tiles to pop off the wall. What looks like a minor cosmetic issue can quietly become a significant structural repair.
Before you apply either material, surface preparation matters enormously. Any joint receiving caulk should be clean, dry, and free of old caulk or grout residue. For a detailed look at what proper prep involves, see our guide to bathtub caulk preparation - the same principles apply to most caulked joints in your home.
Application Tips for Both Materials
Getting either material to perform well comes down to a few consistent habits.
For grout:
- Mix to a peanut-butter-like consistency and work in sections before it begins to set.
- Pack the float diagonally across the joints to push grout fully into the gap.
- Wipe haze with a barely damp sponge in circular motions, then buff dry before the haze hardens.
- Seal unsanded and sanded grout with a penetrating sealer once fully cured - usually 48 to 72 hours after application.
For caulk:
- Mask both sides of the joint with painter's tape for a clean, straight bead.
- Cut the nozzle at a shallow angle (about 45°) for better control.
- Apply steady, even pressure as you pull the gun along the joint in one continuous motion.
- Smooth immediately with a wet fingertip or a caulk-finishing tool, then remove tape before the caulk skins over.
- Allow full cure time before exposing to water - check the manufacturer's stated dry time, which commonly ranges from 24 to 48 hours for bathroom-grade products.
When color matching, many caulk manufacturers offer shades that coordinate with popular grout colors, so a transition from grout to caulk at a corner can be nearly invisible when done carefully.