

Key Takeaways
- Skipping primer on new or repaired surfaces is one of the most common causes of patchiness.
- Applying paint too thinly - or too thickly - in a single coat creates uneven sheen and color.
- Wall prep, including cleaning and sanding, matters as much as the paint itself.
- Most patchy results can be corrected with an additional coat applied correctly.
Why Patchiness Happens in the First Place
A freshly painted wall that still looks streaky, blotchy, or uneven is one of the most discouraging outcomes in a DIY home project - especially when you followed the instructions on the can. The frustrating reality is that patchiness rarely comes from the paint itself. It almost always traces back to one or more preparation or application mistakes that are easy to make and, fortunately, just as easy to fix once you know what to look for.
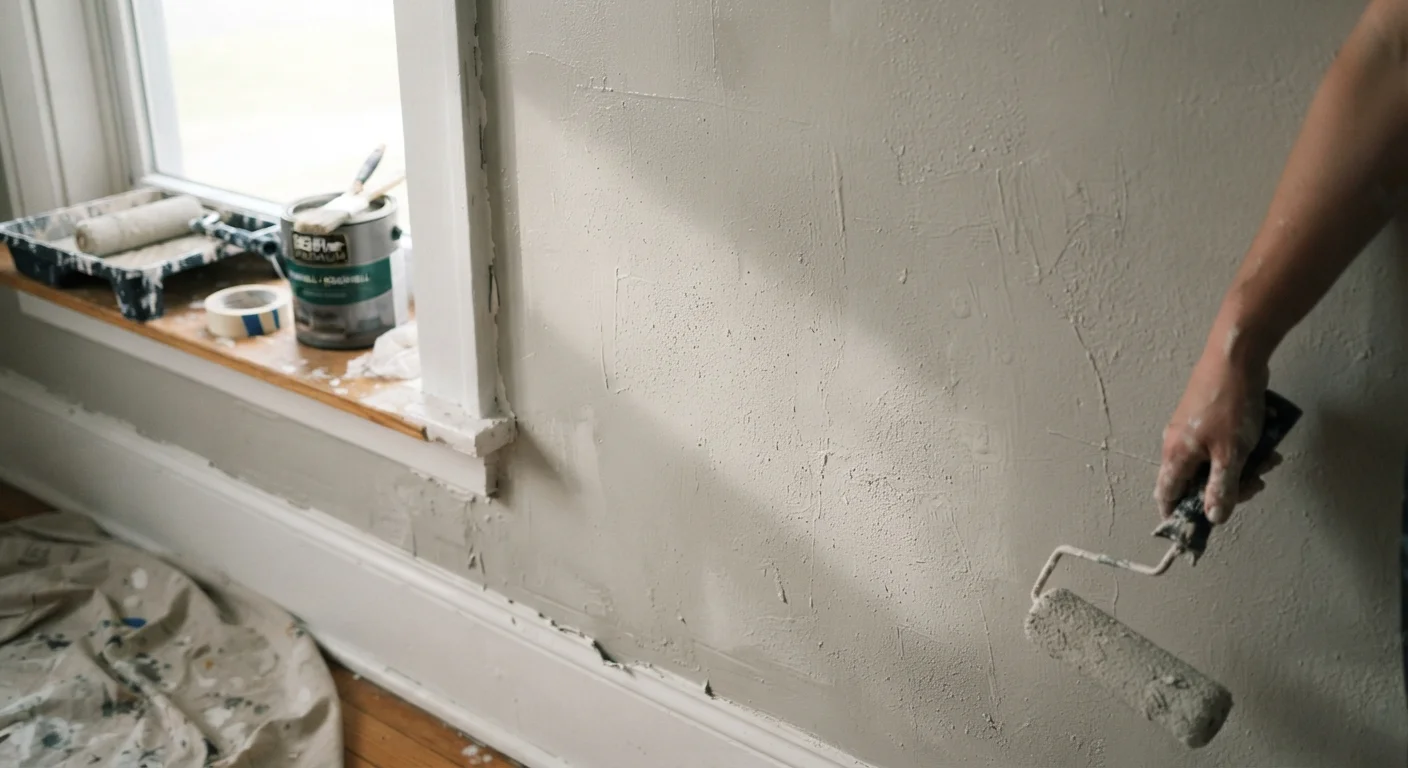
The wall surface absorbs paint unevenly depending on its texture, previous coatings, moisture content, and whether any patching compound was used. Light also plays a role: raking light from a window can reveal roller stipple, lap marks, and thin spots that look invisible in overhead lighting. Understanding the cause is the first step toward a smooth, consistent finish.
Skipping primer before painting.
Why it happens: Many painters assume that modern paint-and-primer-in-one products eliminate the need for a dedicated primer coat, or they want to save time and cost.
Applying paint in too-thin coats to try to stretch coverage.
Why it happens: Thinner coats feel easier to apply and seem to dry faster, so DIYers often try to cover a wall in one very diluted pass.
Painting over a dirty, dusty, or greasy wall surface.
Why it happens: Walls that look clean to the eye can still carry grease, dust, or residue from prior cleaning products, especially in kitchens or near baseboards.
Allowing the roller to run too dry before reloading.
Why it happens: Painters often try to work quickly by stretching each roller load as far as possible, which causes the nap to drag and deposit paint unevenly.
Painting in inconsistent environmental conditions - too hot, cold, or humid.
Why it happens: Temperature and humidity aren't always top of mind when starting a project, but they directly affect how paint flows and dries.
How to Correct a Patchy Wall
Once you've identified which mistakes contributed to your uneven finish, correction is usually straightforward. Allow the existing paint to dry completely - at least 24 hours for latex paint in normal humidity - before adding another coat. Applying paint over a still-tacky surface will pull and drag the layer beneath, making patchiness worse.
Lightly sand the entire wall with fine-grit sandpaper (220-grit works well for most latex paints) to knock down any raised texture or roller stipple, then wipe away the dust with a slightly damp cloth. This levels the surface so the next coat goes on more uniformly. When you repaint, use a fully loaded roller with consistent pressure and work in overlapping W or M strokes, finishing with light, unidirectional passes to minimize lap lines.
Don't Sand Without Protecting Yourself
Sanding painted walls - particularly in older homes - can release lead-containing dust if the existing paint predates lead-paint restrictions. If your home was built before 1978, consult local guidelines and consider having surfaces tested before sanding. Always work in a ventilated space and wear an appropriate dust mask regardless of home age.
For walls where the patchiness stems from heavily repaired areas, spot-prime those sections before recoating the whole wall. This equalizes absorption so the topcoat doesn't sink in differently in repaired spots. Choosing the right sheen also matters - flatter finishes are more forgiving of minor surface imperfections, while glossier sheens highlight them. See our guide to interior paint finishes for a full breakdown of how each sheen behaves on walls.
Your application tool matters too. Rollers cover large surfaces quickly but brushes handle edges and texture differently. If you're unsure which to rely on for specific parts of the job, our roller vs. brush comparison explains where each tool excels.
2 coats
Minimum coats for uniform coverage
Paint manufacturers broadly recommend a minimum of two finish coats over a properly primed surface for consistent color and sheen.
24 hrs
Typical dry time before recoating latex paint
Most latex interior paints require at least 24 hours of dry time between coats under normal temperature and humidity conditions.