

Key Takeaways
- Successful composting requires balancing carbon-rich 'browns' and nitrogen-rich 'greens' in roughly a 3:1 ratio.
- Moisture and airflow are the two most controllable factors in how quickly your pile breaks down.
- Most kitchen scraps - fruit peels, coffee grounds, eggshells - are compostable; meat and dairy are not.
- A well-managed compost pile can produce finished compost in as little as 6-8 weeks.
- Finished compost improves soil structure, drainage, and nutrient availability for plants.
What you will need
Why Composting Is Worth the Effort
Compost - sometimes called "black gold" by gardeners - is decomposed organic matter that functions as one of the most effective soil amendments available. It improves drainage in heavy clay soils, helps sandy soils retain moisture, and gradually releases nutrients that plants can absorb. Unlike synthetic fertilizers, it also feeds the living organisms in soil that support long-term plant health.
Beyond the garden, composting diverts food and yard waste from landfills, where organic material breaks down anaerobically and contributes to methane emissions. Even a modest household compost operation can divert a meaningful amount of organic waste each year.
If you're starting a vegetable garden from scratch, building a compost habit early means you'll have a steady supply of amendment ready when your beds need it most. Compost also pairs well with mulching your garden beds - the two practices together dramatically reduce the effort needed to maintain healthy soil season after season.
What you will need
Setting Up and Running Your Compost System
Getting started requires minimal equipment. Review the tools below before beginning, then follow the steps to build and maintain your pile.
Compost Bin or Wire Cage
Contains the pile, retains heat for faster decomposition, and keeps pests out.
Garden Fork or Pitchfork
Used to turn and aerate the compost pile, introducing oxygen that microbes need to work.
Kitchen Scrap Collector
A countertop container for gathering fruit and vegetable scraps before transferring them to the outdoor pile.
Compost Thermometer
Measures internal pile temperature to confirm active decomposition is occurring.
Choose and Prepare Your Composting Site
Select a level spot with good drainage, ideally in partial shade to help the pile retain moisture without drying out too quickly. Allow at least 3 feet of clearance on all sides for turning. Place your bin or define the pile boundaries using stakes or a wire cage. If composting directly on soil, loosen the ground slightly with a fork so worms and other beneficial organisms can enter from below.
Gather Your 'Greens' and 'Browns'
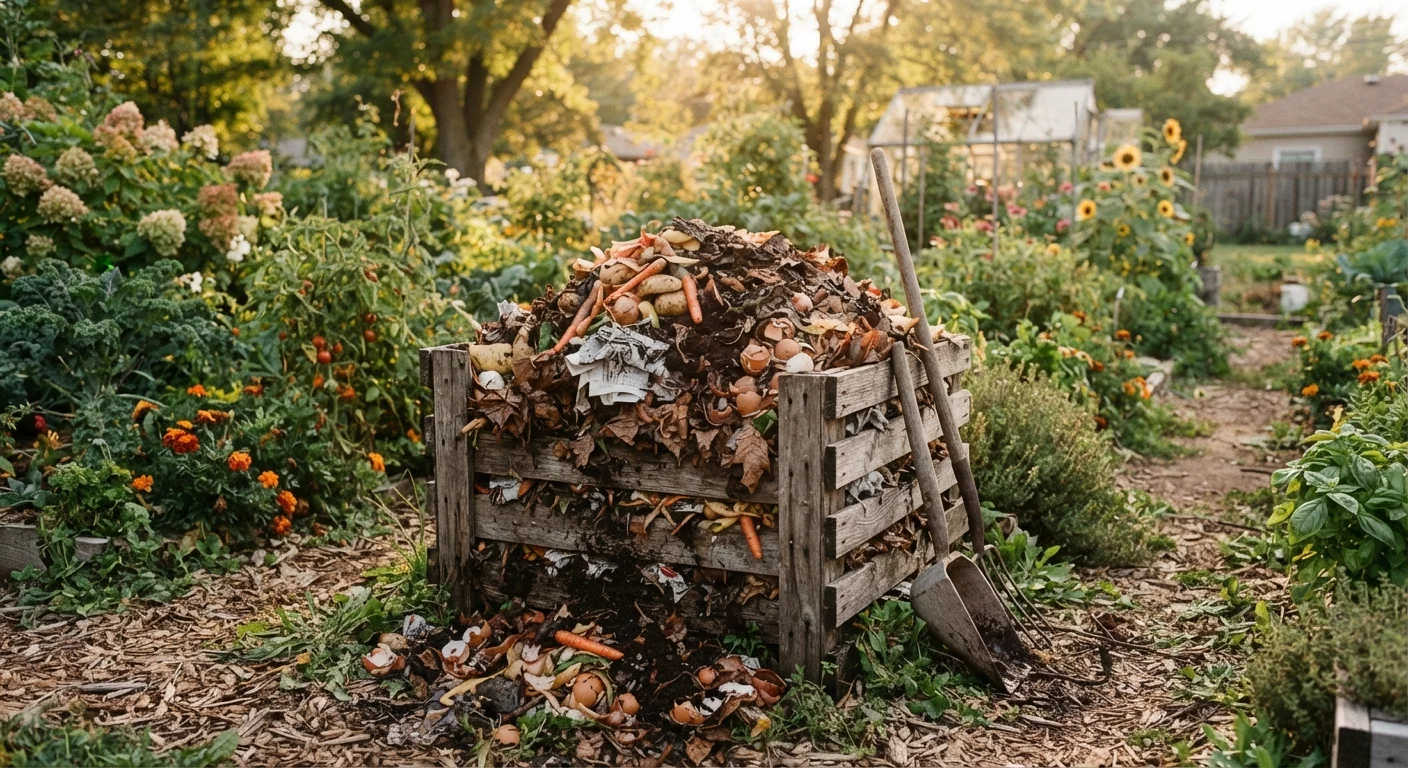
Compost materials fall into two categories. Greens (nitrogen-rich) include fruit and vegetable peels, coffee grounds and filters, tea bags, fresh grass clippings, and plant trimmings. Browns (carbon-rich) include dry leaves, cardboard torn into small pieces, newspaper, straw, wood chips, and paper towel rolls. Aim for roughly three parts browns to one part greens by volume - this ratio fuels microbial activity without creating a slimy, smelly pile.
Layer Your Materials
Start with a 4-6 inch base layer of coarse browns such as wood chips or straw - this allows airflow from the bottom. Add a 2-3 inch layer of greens on top, then cover with another layer of browns. Continue alternating layers as you add new material. This sandwich structure prevents any single ingredient from matting together and blocking airflow, which is one of the most common reasons piles slow down or smell.
Maintain Moisture and Airflow
Your pile should feel like a wrung-out sponge - moist but not dripping. In dry weather, water lightly every few days. In wet weather, cover the pile or adjust your bin lid to prevent waterlogging. Airflow is equally important: turn the pile with a garden fork every 1-2 weeks, moving material from the outer edges into the center where temperatures are highest. More frequent turning accelerates decomposition.
Monitor the Pile's Progress
Within a week or two of building an active pile, the interior should feel noticeably warm - a sign that microbes are breaking down organic matter. If the pile is cold and not shrinking, it likely needs more greens, moisture, or turning. If it smells like ammonia, add more browns. If it smells like rotting food, it may be too wet or compacted - turn it and add dry material to restore balance.
Harvest and Use Finished Compost
Compost is ready when it looks dark brown, smells earthy (like forest soil), and you can no longer identify the original materials. This typically takes 2-6 months depending on management. Sift out any large unfinished pieces and return them to the active pile. Use finished compost as a soil amendment worked into garden beds, as a top dressing around established plants, or mixed into potting mix at a ratio of roughly one part compost to three parts other media.
Speed Up Decomposition With Smaller Pieces
Chop or shred materials before adding them to your pile. Smaller pieces expose more surface area to microbes, which can cut decomposition time significantly. A quick pass with garden shears or a lawnmower over dried leaves makes a noticeable difference.
Never Compost Meat, Dairy, or Diseased Plants
Adding meat, fish, bones, dairy products, or oils to a home compost pile attracts pests and creates unpleasant odors. Diseased plant material or weeds that have gone to seed should also be kept out, as a backyard pile may not reach temperatures high enough to destroy pathogens or prevent weed seeds from sprouting in your garden.
Once you have an active pile running, composting becomes a rhythm rather than a project. Spend five minutes adding scraps a few times a week, ten minutes turning the pile once a week, and a few hours harvesting every few months. Use finished compost as part of your pre-season garden readiness routine to give new plantings the best possible start.