

Key Takeaways
- Using the wrong oil viscosity or filter specification can cause accelerated engine wear.
- Overtightening or cross-threading the drain plug is one of the most common - and avoidable - DIY errors.
- Overfilling oil is just as damaging as running low; always verify the level with the dipstick after filling.
- Disposing of used motor oil improperly is illegal in most US states - recycling drop-offs are widely available.
- Consulting your owner's manual before every oil change prevents the majority of specification mistakes.
Why Getting an Oil Change Right Actually Matters
An oil change is one of the most approachable maintenance tasks a vehicle owner can perform at home. It requires minimal equipment, takes less than an hour for most vehicles, and helps preserve engine life when done correctly. The problem is that a handful of consistent errors - each preventable - turn a routine job into an expensive repair. Understanding what goes wrong, and why, is the first step to doing it right.
For a broader look at how regular upkeep protects your vehicle long-term, see our guide to routine maintenance tasks that prevent costly repairs later. And if you've heard that every vehicle needs an oil change every 3,000 miles, it's worth reading our piece on car maintenance myths that waste money - that interval is outdated for most modern engines.
The Most Common Oil Change Mistakes
The errors below range from specification mix-ups to mechanical missteps. Each one is genuinely common among home mechanics, and each one is avoidable with a bit of preparation.
Using the wrong oil viscosity or specification for the engine.
Why it happens: Many drivers default to a familiar grade - such as 5W-30 - without checking whether their specific engine calls for something different, like 0W-20 or 5W-40.
Installing an incorrect or incompatible oil filter.
Why it happens: Oil filters look similar across many vehicles, and it's easy to grab the wrong part number from a store display - especially when relying on memory rather than a reference.
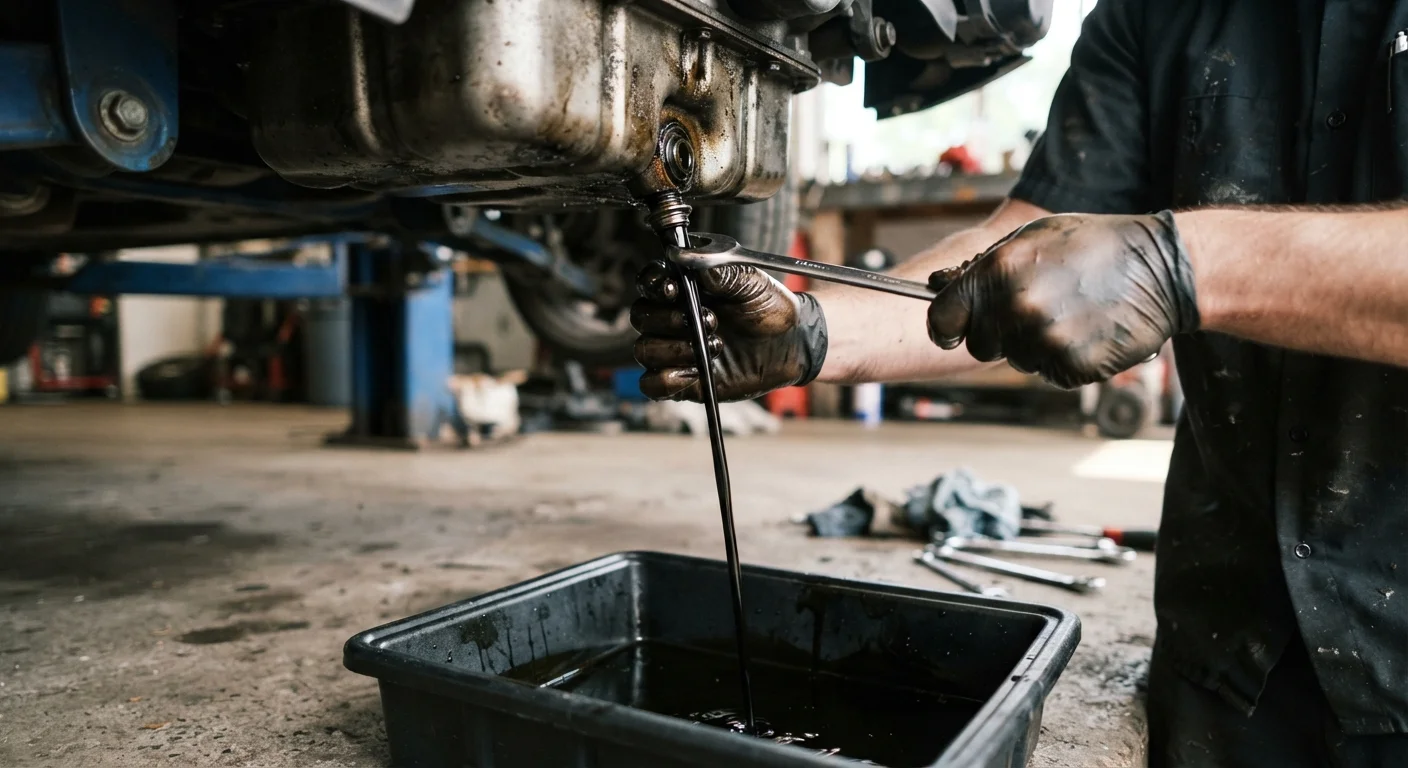
Stripping or cross-threading the drain plug during reinstallation.
Why it happens: It's tempting to tighten the drain plug as firmly as possible, or to rush reinstallation without carefully aligning the threads first.
Forgetting to lubricate the oil filter gasket before installation.
Why it happens: This small step is easy to overlook, particularly for first-time DIYers who focus on larger tasks and skip the checklist.
Overfilling the engine with too much oil.
Why it happens: Drivers sometimes add more oil than needed out of caution, assuming extra oil offers extra protection. In reality, excess oil can foam under engine rotation and lose its lubricating properties.
Not replacing the crush washer or reusing a damaged drain plug gasket.
Why it happens: Crush washers are inexpensive and often overlooked in a parts list, so many DIYers reinstall the old one without thinking - leading to slow oil seepage over time.
Engine Damage Can Be Immediate and Irreversible
Starting your engine before confirming the drain plug is reinstalled - or before adding any oil - can destroy internal engine components within seconds. Always do a complete walk-around check before turning the key. If you have any doubt about the procedure, consult a qualified mechanic rather than risk catastrophic engine failure.
If any step in the process feels uncertain - especially on a newer or higher-mileage vehicle - it's always appropriate to defer to a qualified mechanic. Our editorial overview on where DIY car maintenance has clear limits can help you decide when to DIY and when to hand it off.
Building Habits That Make Every Oil Change Safer
Most oil change errors are not about skill - they're about preparation and process. Keeping a simple checklist in your garage or saved on your phone removes reliance on memory during a task where small oversights add up quickly.
Never Dispose of Oil in Trash or Drains
Pouring used motor oil down a drain, into soil, or in household trash is illegal under federal and most state environmental regulations. A single gallon of used oil can contaminate up to one million gallons of groundwater. Bring used oil in a sealed container to an auto parts retailer, service station, or municipal recycling center - most accept it at no charge.
Before each oil change, gather: the correct oil grade and quantity (from the owner's manual), the correct filter part number for your specific vehicle, a new crush washer if applicable, and a torque wrench. Work on a level surface, allow a warm engine to cool for 20-30 minutes before draining, and always confirm the drain plug and filter are properly seated before adding fresh oil.
For a full picture of what responsible DIY vehicle care looks like - including where its limits are - visit our Car Ownership Tips hub.
~8 quarts
Oil capacity range across common passenger vehicles
Engine oil capacity varies widely - from roughly 4 quarts in a small four-cylinder to over 8 quarts in a large V8 - making the owner's manual the only reliable reference.
1 gallon
Groundwater potentially contaminated by one gallon of used oil
The US Environmental Protection Agency notes that used motor oil is a significant source of water pollution when not recycled properly.