

Key Takeaways
- The direction and pattern of tile installation significantly affects how large or small a room appears.
- Straight grid layouts are the most forgiving for beginners and suit most standard spaces.
- Diagonal and herringbone patterns add visual movement but require more cutting and planning.
- Choosing the wrong pattern for a small or oddly shaped room can make imperfections more noticeable.
- Grout width and tile size interact with layout pattern to reinforce or soften the overall effect.
Why Tile Orientation Is More Than a Style Choice
When most homeowners shop for tile, they focus on color, texture, and price - but the layout pattern is just as important as the tile itself. A well-chosen pattern can make a narrow hallway feel wider, a small bathroom feel more expansive, or a plain kitchen backsplash feel architectural and intentional.
Tile patterns work by directing the eye. Horizontal lines stretch a room visually; diagonal lines create energy and the illusion of more floor space; interlocking patterns like herringbone draw attention and anchor a room. Understanding how each layout behaves gives you a practical edge when planning any tiling project.
The five patterns below cover the most common options available to DIY homeowners, ranging from the easiest to install to the more ambitious. Each changes the feel of a room in a distinct, predictable way.
Straight Grid (Stacked)
The straight grid - sometimes called a stacked pattern - aligns tile edges directly with one another both horizontally and vertically, forming a clean matrix of squares or rectangles. It's the simplest pattern to plan and execute, making it the default choice for first-time tilers.
In square rooms with balanced proportions, a stacked grid feels calm and orderly. On large-format tiles (typically 12×24 inches or bigger), the uniform lines emphasize the tile's size, giving a sleek, contemporary look. The tradeoff: perfectly straight grout lines are brutally honest about any wall that isn't quite plumb, so measuring from a true center point is essential.
Straight grids are beginner-friendly but demand accurate measuring to avoid converging lines near walls.
Offset (Brick or Running Bond)
In an offset or running bond pattern, each row is staggered - typically by half a tile length - mimicking the look of traditional brickwork. This is one of the most widely used patterns for both floors and walls because it distributes grout joints evenly and is forgiving when walls aren't perfectly parallel.
Oriented horizontally, the offset pattern widens a room visually. Oriented vertically, it adds height. For subway tile backsplashes, a horizontal running bond remains the classic choice. Keep in mind that with large-format rectangular tiles, a stagger beyond one-third of the tile length can highlight any slight warping in the tiles themselves - a phenomenon called lippage - so check manufacturer recommendations for maximum offset before you begin.
A horizontal running bond is one of the most reliable ways to visually widen a narrow room.
Diagonal (45-Degree)
Rotating a standard square tile 45 degrees transforms it into a diamond-set pattern. The result is a room that feels noticeably larger - diagonal lines carry the eye toward corners, expanding the perceived boundaries of the space. This effect is especially useful in compact bathrooms and entryways.
The tradeoff is material waste and additional cutting. Every edge of the room will require cut triangle pieces, which means ordering 10-15% extra tile beyond your square footage estimate. Planning the center of the diagonal layout carefully is critical; the pattern should look balanced relative to the room's focal point, typically a doorway or the main fixture.
Diagonal tile placement can make a small room feel meaningfully larger by drawing the eye toward corners.
Herringbone
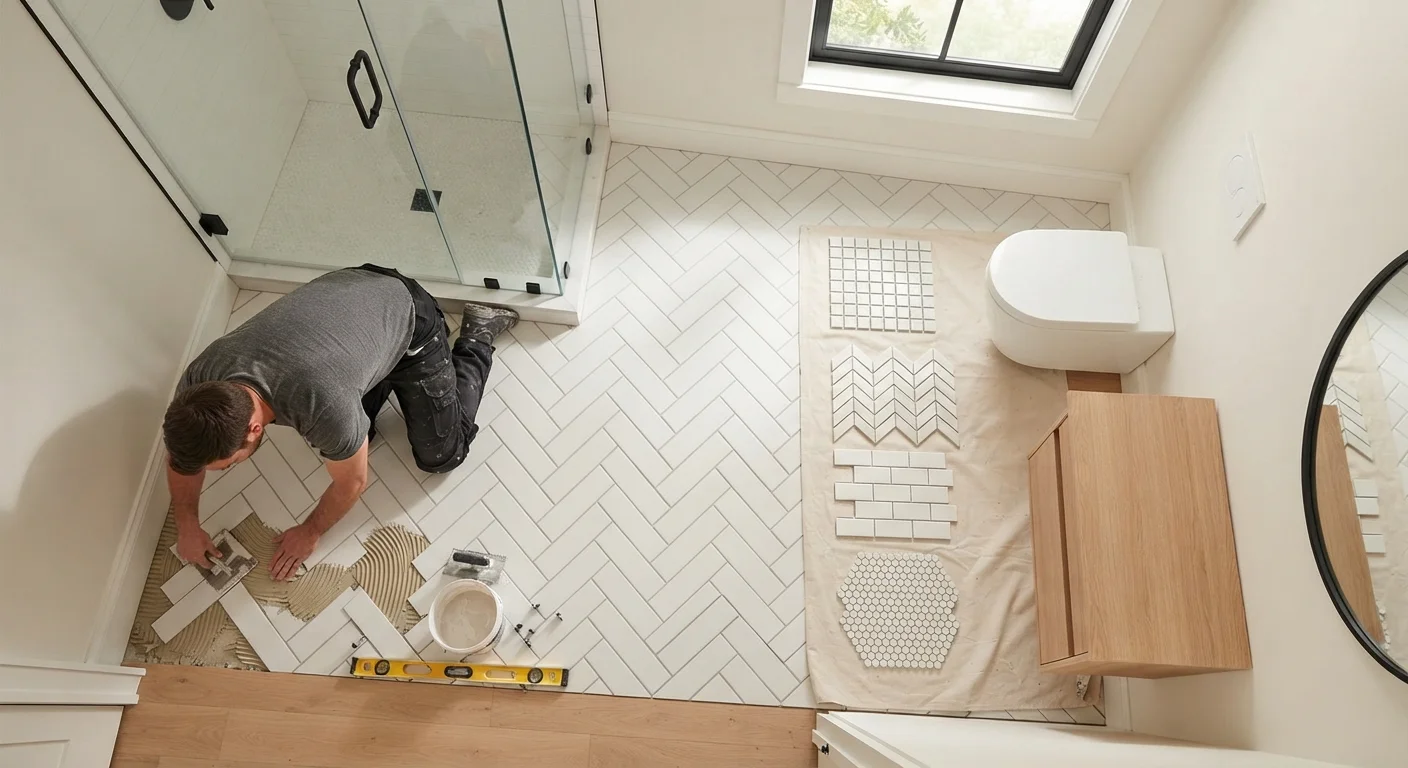
Herringbone arranges rectangular tiles in a V-shaped zigzag, with each tile placed at a 90-degree angle to its neighbor. The pattern has been used in floors and walls for centuries and remains one of the most visually dynamic options available. It creates strong directional movement and works especially well in hallways, where it pulls the eye forward along the length of the space.
Herringbone is not a beginner pattern - it requires precise cutting at room edges and a carefully established center line to keep the V-shapes symmetrical across the full installation. That said, smaller mosaic herringbone sheets (pre-mounted on mesh backing) significantly reduce the complexity and are a practical option for backsplashes or accent walls.
Herringbone's directional energy makes it ideal for hallways, drawing the eye through the length of the space.
Basketweave
Basketweave is a classic mosaic pattern that pairs small rectangular tiles in alternating horizontal and vertical pairs, creating the woven look of a basket when viewed from a distance. It's most commonly seen in vintage-style bathrooms and entryways and works particularly well with small-format tiles in neutral tones.
Because the units are small and often pre-arranged on mesh sheets, basketweave is more manageable than its intricate appearance suggests. The pattern softens a room rather than energizing it - it reads as textural and quiet rather than directional. Use it where you want visual interest without strong movement, such as a powder room floor or a small shower niche.
Basketweave adds rich visual texture without the strong directional pull of herringbone or diagonal patterns.
Matching Your Pattern to Your Space
No single pattern suits every room. Before committing, consider the room's proportions, how much natural light it gets, and the complexity you're comfortable managing as an installer. Odd-shaped rooms with many alcoves tend to show grout lines more dramatically, which can work for or against you depending on the pattern chosen.
Test Your Layout Before You Commit
Dry-lay a section of tile in your chosen pattern without adhesive before you mix a single batch of thinset. This lets you spot awkward cuts near doorways or fixtures and confirm that the visual effect works in your actual lighting conditions. Adjust your starting point as needed - it takes minutes now and can save hours of correction later.
A quick way to test how a pattern will look is to sketch the room roughly to scale on graph paper and shade in the tile layout. This low-tech method reveals how the lines will land near walls, doorways, and fixtures - before you spend a cent on materials or labor.
Whatever pattern you choose, consistent grout joint width is essential. Uneven joints amplify every slight misalignment and undermine even the most thoughtfully selected layout. Take the time to plan your starting point carefully, and dry-lay a section before committing with adhesive.